Home decor is all about making your home look nice and comfy. It’s like adding special touches to your rooms to make them feel just right for you. There’s no one-size-fits-all approach to home decor because everyone has their own way of making their home just right for them.
You can use things like colorful rugs, soft cushions, and beautiful curtains to add warmth and comfort to your home. Some people even love hanging up pictures or putting up shelves to display special items that hold meaning to them. With home decor, you have the freedom to make your place feel like your own little sanctuary. And, most people turn to platforms similar to Casa by Josephine Jenno (https://casabyjj.com/) to find the perfect home decor items and artisanal pieces that can give their space that luxurious feel.
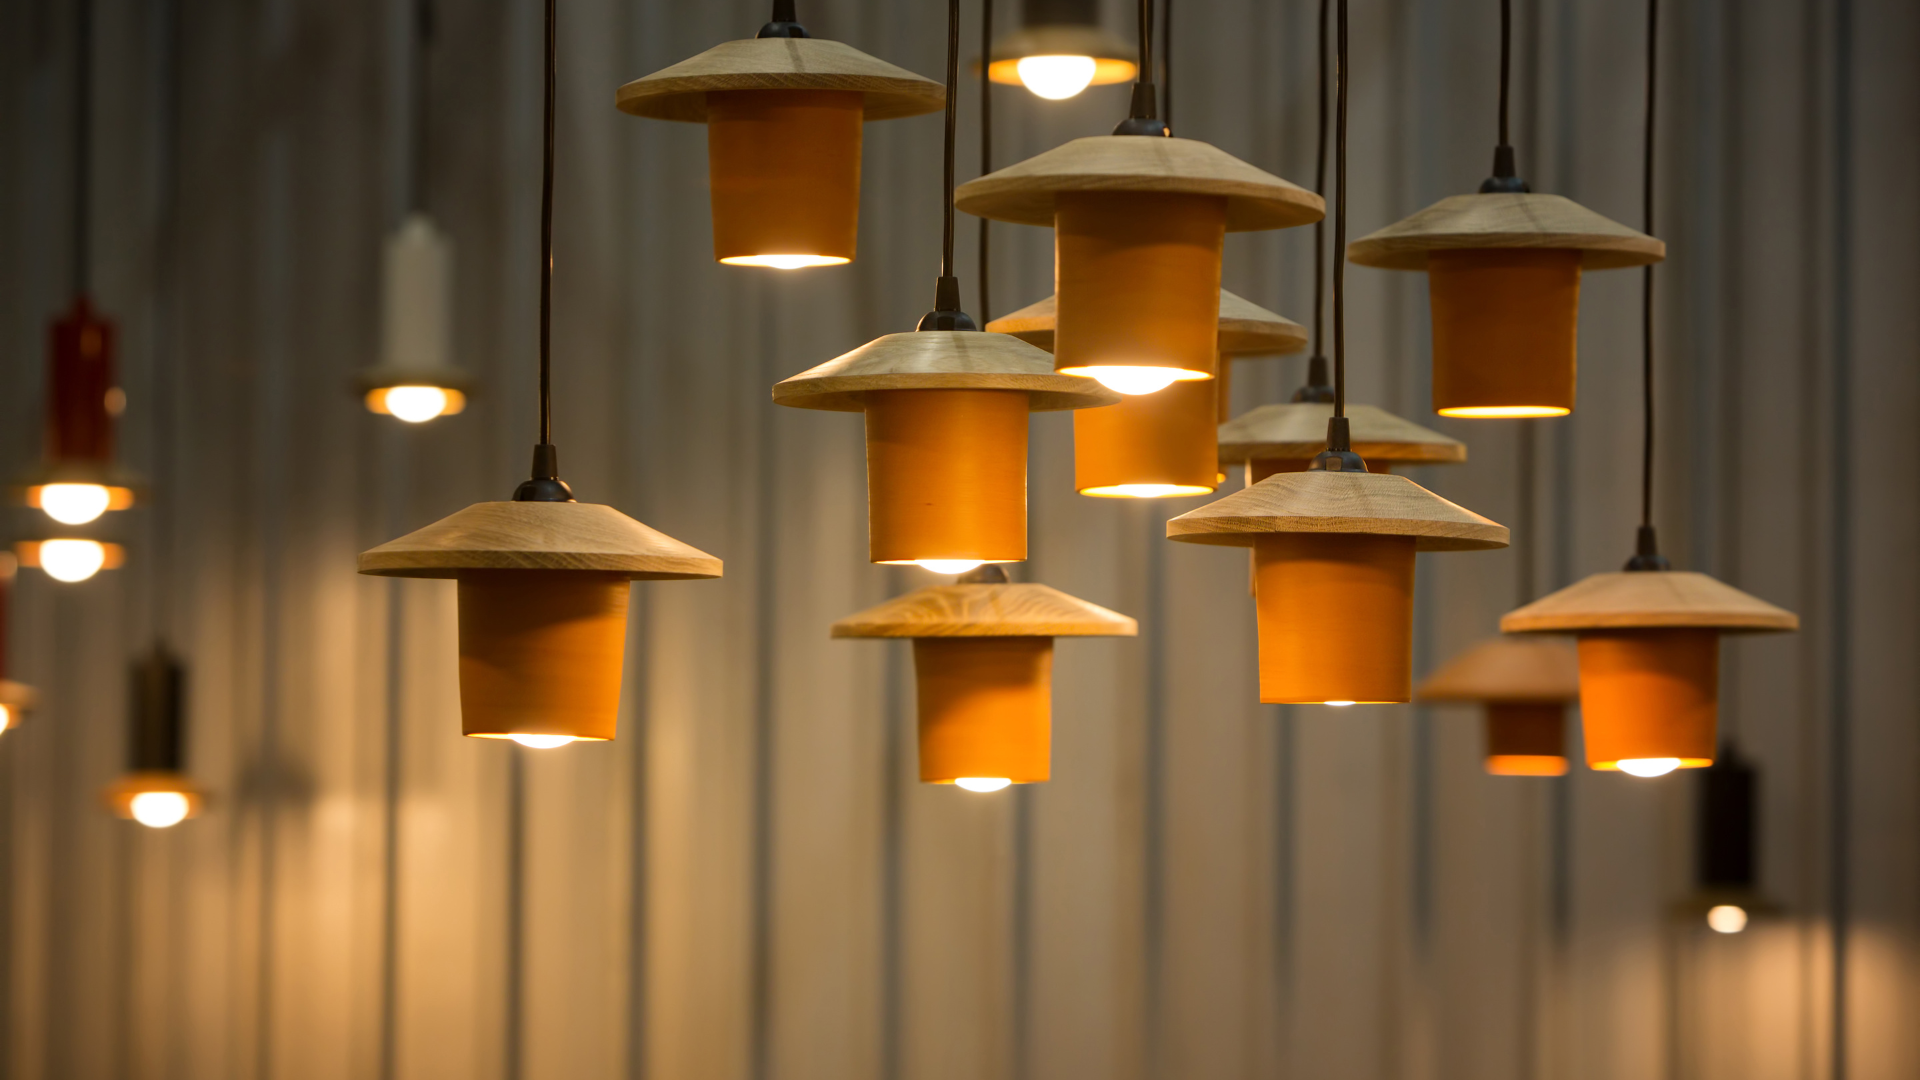
Conversely, you can even consider making your own home-decor items. Take, for example, this DIY hanging lamp tutorial! With just a few basic materials and some crafting skills, you can make a beautiful statement piece that’ll add warmth to any room in your home.
Whether you’re an experienced crafter or brand new to the world of DIY, this project is sure to be both fun and rewarding. So why wait? Let’s get started on making your very own beautiful handmade hanging lamp today!
Uses of Hanging Lamp As a Decor
A hanging lamp is a great way to add light to any room in your home. They are easy to make and can be customized to fit your style. Hanging lamps can be used in any room from a living room to a bedroom, and can even be hung outside. These lighting fixtures not only serve a functional purpose but can also become design elements that complement your interior decor. If you’re not sure how to incorporate hanging lamps into your space or want to achieve a perfect lighting setup, it’s advisable to seek professional help from lighting installation services. Experts can guide you through the process, ensuring proper placement, wiring, and overall cohesion with your existing design elements.
These fixtures provide a great source of ambient lighting for any space and can also work as task lighting when used over a desk or reading area.
Hanging lamps are also an ideal option for adding decorative accents to any space, as they come in a wide variety of colors, shapes, sizes, and designs.
Hanging lamps can be used to create an intimate atmosphere in any room, while also providing plenty of light. The shape and size of the lamp will play a role in how much light it provides; for instance, a larger shade will provide more light than a smaller one.
Hanging lamps are a budget-friendly way to refresh any room’s look and can be easily replaced when you want to update your decor. In this regard, you typically have two options: hiring an electrician in London (or wherever you live) to install it or doing it yourself. If you choose the DIY route, here are some tools that can help you hang the lamp.
Hanging Lamp Tools
Assuming you have a lamp kit and some basic tools, you’ll need the following supplies to make a hanging lamp:
- Wire cutters
- Plyers
- Lamp socket
- Cord switch
- Ceiling hook
- Wire strippers
- Light bulb
- Cord
- Threaded rod
- Lampshade
- Lamp hardware kit such as screws, nuts, washers, etc.
To begin, use wire cutters to remove any excess wire from your lamp kit. Then, use plyers to twist the end of the remaining wire around the metal screw at the top of the lamp socket. Be sure to leave enough slack in the wire so that you can later screw in a light bulb.
Next, use wire strippers to expose about half an inch of bare wire at the other end of the lamp kit’s wire. Then, twist this bare wire around one of the silver screws on the cord switch. Again, be sure to leave enough slack in the wire so that you can screw in a light bulb later on.
Now it’s time to attach your ceiling hook. To do this, first, remove any plastic or rubber coating from the end of the exposed wire on the cord switch using wire strippers.
Once the coating is removed, twist these bare wires around one of the screws on the underside of the ceiling hook. Tighten all three screws on the lamp socket, cord switch, and ceiling hook securely. At this point, your hanging lamp is just about complete! All that’s left to do is screw in a light bulb and turn it on.
Check the Ceiling Beforehand
Before incorporating a hanging lamp, it’s essential to inspect the condition of your ceiling to ensure a safe and secure installation. Ceiling maintenance is crucial, especially if you’re working with an older home or haven’t checked the ceiling for a while.
Start by thoroughly examining the ceiling for any signs of cracks, water damage, or sagging. If you notice any concerning issues, it’s best to address them before proceeding with the lamp installation. Neglecting ceiling maintenance can lead to potential safety hazards and compromise the integrity of your hanging lamp.
Neglecting ceiling maintenance can lead to potential safety hazards and compromise the integrity of your hanging lamp. Over time, ceilings can develop cracks, stains, or even become loose, posing risks to the fixtures and lights attached to them. Another important consideration is the type of ceiling material you’re working with, as this will dictate the specific measures required for proper maintenance and installation. If you have a plasterboard ceiling, for instance, it’s crucial to plan ahead and install a ceiling access panel in plasterboard. This panel usually allows you to access the ceiling cavity, making it easier to run wiring and secure the necessary hardware for your hanging lamp installation.
If you already have a ceiling access panel, carefully inspect it for any damage or deterioration. Ensure that the panel is securely in place and can be easily removed and reinstalled during the lamp installation process. If the panel is damaged or missing, it’s advisable to have it replaced or repaired before proceeding.
In addition to these, consider the location of any electrical wiring, pipes, or other obstructions that may be present in the ceiling cavity. Proper planning and identification of these elements will help you avoid any potential issues during the installation process.
Once you’ve addressed any ceiling maintenance concerns and located the ceiling access panel in plasterboard, you can proceed with the hanging lamp installation confidently, ensuring a safe and secure final product.
The Pros of Having Your Hanging Lamps
If you made a hanging lamp, you’d be able to customize it in any way you want. If you want a lamp that is unique and stands out in the room, then this is the best option. Hanging lamps are great for creating an atmosphere and mood in a room. This can help set the tone of your home, as well as create an inviting space for guests.
The light from hanging lamps is also generally more evenly distributed than other types of lighting fixtures. This will help brighten up dark corners or make large rooms seem smaller and cozier. Hanging lamps provide a great alternative to overhead lighting fixtures, which can be harsh and create too much glare in some spaces. With a hanging lamp, you can adjust the height and brightness of the light depending on your needs.
Finally, having your hanging lamps will reduce your energy costs over time due to their efficient use of electricity compared to conventional lights.
We hope this article has helped you to better understand how to make a hanging lamp. With time and dedication, anyone can create a unique light fixture that will add beauty and style to everyday life.
Whether you are looking for an inexpensive DIY project or a more elaborate creation, the possibilities with hanging lamps are endless. So get creative and experiment with different materials and styles until you find something perfect for your home!


